Retrieve Results of a Dice Roll
Rolls 10-sided dice against a difficulty and returns the results.
URL
GET http://localhost:4567/api/v1/roll
Query Parameters
| Parameter | Description | Type | Required | Notes |
|---|---|---|---|---|
| num_dice | Number of 10-sided dice to roll. | int | Required | |
| difficulty | The number each die must meet or beat to succeed. | int | Optional | Default value is 6 |
Sample Request
GET http://localhost:4567/api/v1/roll?numDice=4&difficulty=7
Response
| Element | Description | Type | Notes |
|---|---|---|---|
| difficulty | The number the API compared dice to for success. | number | Between 2 and 10 |
| num_dice | How many dice the API rolled. | number | |
| faces | The result of rolling the dice. One die for each num_dice. | array of numbers | Dice are 10-sided |
| rolled_successes | The number of dice that met or beat the difficulty | number | |
| rolled_ones | How many 1s are in the result. | number | |
| total_successes | The rolled successes minus the rolled ones. | number | |
| outcome | The overall outcome of the roll. | string | Valid values: "success", "failure", "botch" |
Sample Response
{
  "difficulty":5,
  "num_dice":4,
  "faces":[8,9,8,1],
  "rolled_successes":3,
  "rolled_ones":1,
  "total_successes":2,
  "outcome": "success"
}
Status Codes and Errors
The following table lists the returned HTTP status codes.
| Code | Description | Notes |
|---|---|---|
| 200 | OK | |
| 400 | Bad Request | A query parameter is invalid |
Zones Quickstart - Media Controller API
Each digital signs belong to a group called a zone. Let's look at the most common zone calls:
- Getting a list of all zones.
- Getting a single zone.
- Rebooting all devices in a zone.
To get a list of all zones, make a GET request to /zone.
# Getting all zones
curl https://api.example.com/zone
[
  {
    "id": 1,
    "name": "north-tower",
    "readable_name": "North Tower"
  },
  {
    "id": 2,
    "name": "river-walk",
    "readable_name": "River Walk"
  }
]
Getting a single zone requires adding an ID to the request. Make a GET request to /zone/{id}.
# Getting north tower zone.
curl https://api.example.com/zone/1
{
  "id": 1,
  "name": "north-tower",
  "readable_name": "North Tower"
}
There is also a function for requesting a reboot from each device in the zone. The reboot function is convenient when you need to swap the content for a zone in the middle of the day. The result is a message string.
# Reboot the river-walk zone
curl https://api.example.com/reboot_zone/2
{
  "msg": "Rebooting river-walk zone"
}
Scoop Quick Start Guide
Scoop makes installing apps on Windows as easy as homebrew or apt.
Requirements
Windows 10 has everything installed that you need to get started. If you are running an older version of Windows, check the requirements.
PowerShell needs permission to execute scripts. To grant it that permission, run the command below in PowerShell.
Set-ExecutionPolicy -ExecutionPolicy RemoteSigned -Scope CurrentUser
Installation
To install scoop, use this command.
iwr -useb get.scoop.sh | iex
Scoop is installed in your User folder by default. To install elsewhere, refer to the official installation instructions.
Usage
To find an application, use the search command.
scoop search wget
Install an application with the install command.
scoop install git
Scoop collects different types of applications together in buckets. The default bucket is limited to non-GUI developer tools. To expand the number of applications available, consider adding the extras bucket.
scoop bucket add extras
Learn More
To see more of what scoop can do, run the help command.
scoop help
For more extensive help, see the Wiki.
Custom gradient border in Webflow
Create borders that pop with a gradient background and padding.

Style elements on your site using beautiful gradients. Combining the power of gradients and padding, you can style borders with a fully customizable gradient in the Webflow Designer.
In this lesson, you'll learn how to add a gradient border to your elements doing the following:
- Make a button from a a Link block
- Set a linear gradient background
- Match background color
- Add padding
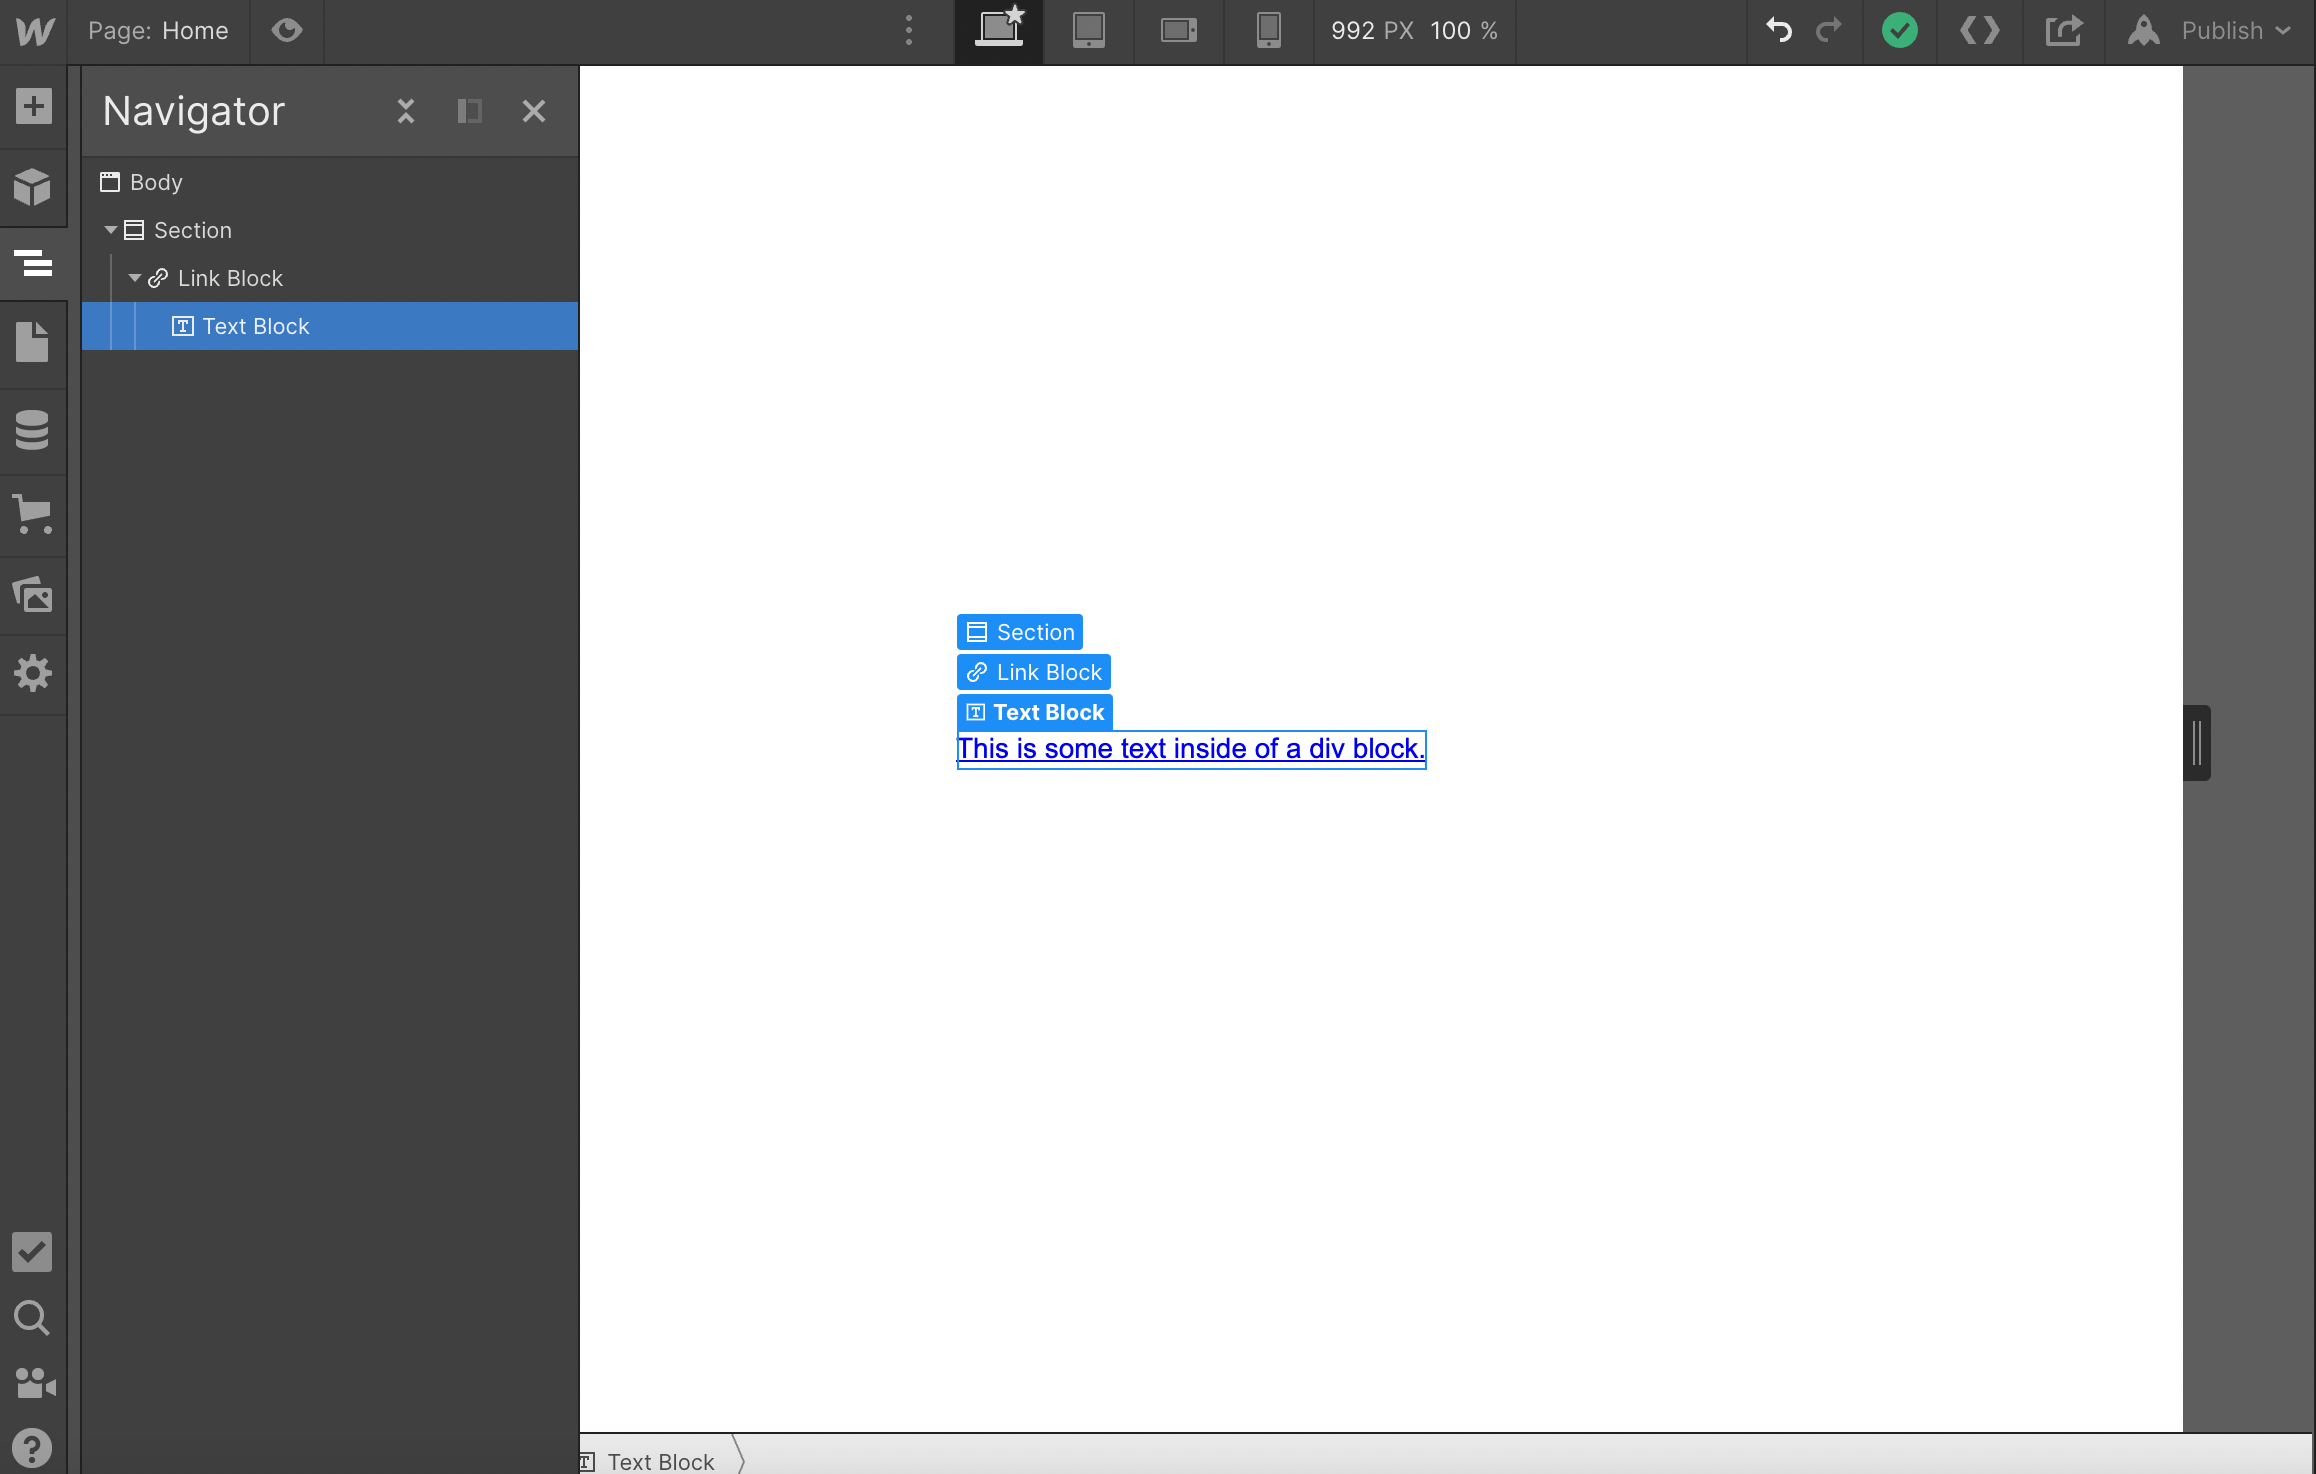
Make a button from a Link block
Create a button so you have something to add the gradient border to.
- Drag a Link block into the document
- Drag a text block and drop it inside the link block
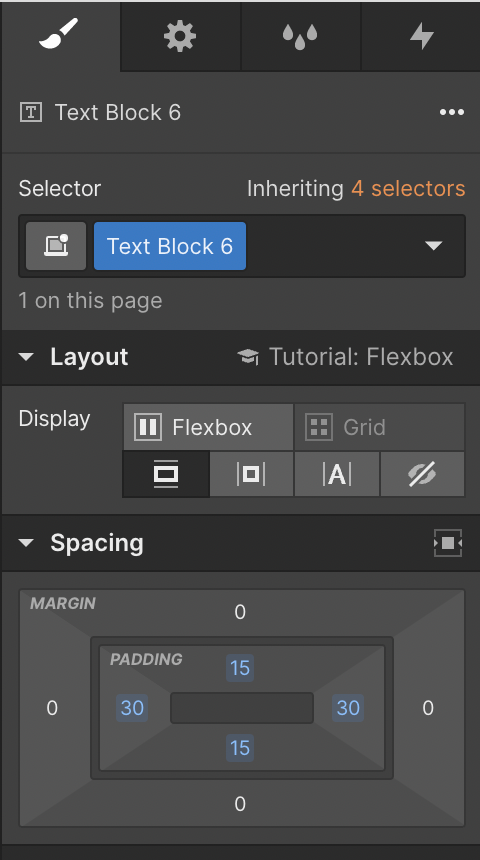
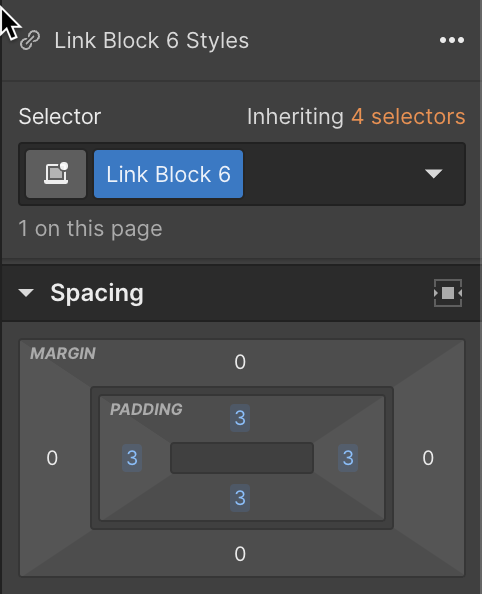
Give the text block a button shape with padding.
- Select the text block
- Open Style panel > Spacing
- Set the left and right padding to 30px
- Set the top and bottom padding to 15px
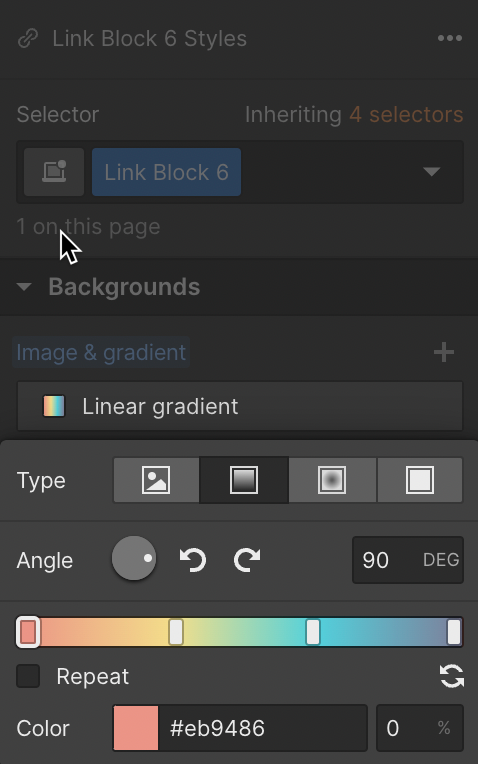
Set a linear gradient background
Great! Now you have a button to work with, set up the gradient border on the Link block.
- Open Style panel > Backgrounds
- Click the Image & gradient "plus" icon
- Click Linear Gradient to set up the background gradient
Match the background color
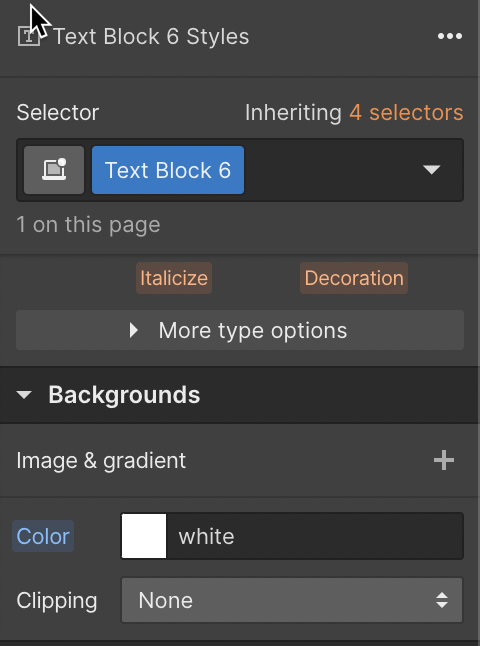
Apply a background color to the text box that matches the page background on the text block.
- Open Style panel > Backgrounds
- Set the background color of the text block to match the background color of the page (e.g., white)
Add padding
Show the gradient by adding padding to the link block.
- Open Style panel > Spacing
- Set the same padding on all four sides
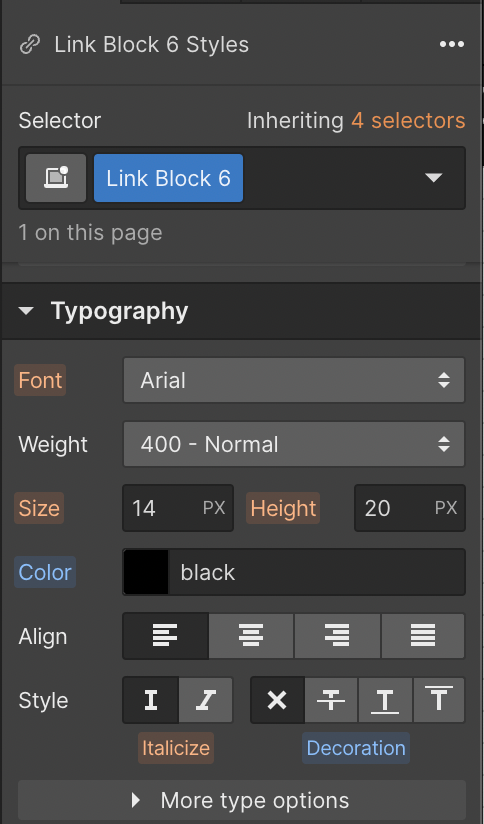
Change the typography settings on the Link block to make the link look more like a button.
- Open Style panel > Typography
- Remove the underline decoration from the link block
- Change the font color to black
Read more about typography.
Finish the button off by adding a border-radius to both the Link block and text block to round the button.
Read more about borders.
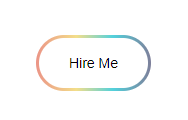
And that's it! A button with a gradient for a border is sure to grab the attention of your site visitors.
Remove Pocket from Firefox
If you are using Firefox, you will need to disable the Pocket integration. We've put together a little tutorial for how to do this on your own. If you run into any problems, please feel free to call the IT help desk at extension 1111. They will be happy to assist you.
Step 1
Open a new tab and enter about:config in the address bar at the top of the page. A window will pop up with a warning. Click the Accept the Risk and Continue button.

Step 2
In the search bar at the top of the page, type in pocket. Then click the toggle button in the far right column next to each of the following items:
- browser.newtabpage.activity-stream.section.highlights.includePocket
- extensions.pocket.enabled
- extensions.pocket.onSaveRecs

Now you can close the about:config tab and go about your day. If you get stuck or don't feel comfortable making this change, please reach out to the IT help desk at extension 1111.
| Date: | March 24, 2022 |
| To: | All Support Desk Staff |
| From: | James Teitsworth |
| Subject: | Accessing the new knowledge base |
| CC: | IT Manager |
Purpose Statement
This memo aims to give better explanation of how to access the knowledge base that went live last week.
I would like to start by apologizing for any confusion caused by the last set of instructions you received. There were a few missing pieces that made them difficult to follow. Please disregard those instructions and follow along below.
New Instructions
The knowledge base is part of our existing Spiceworks ticketing system. To see our internal knowledgebase articles:
-
Log in to Spiceworks at https://on.spiceworks.com using your existing username and password.
-
Click on the Knowledge Base link in the navigation bar at the top of the page.
-
Switch from the Everyone tab to the My Team tab. The tabs are under the Knowledge Base heading at the top of the page.
-
Type in a search term to find relevant articles.
Technical Support
If you still have trouble accessing the knowledge base feel free to contact James Teitsworth at 1122.
If you have an idea for a knowledge base article, get in touch with Michael Smith at extension 1111.
Thank you for your understanding.
James E. Teitsworth
Information Systems Specialist
Great River Entertainment